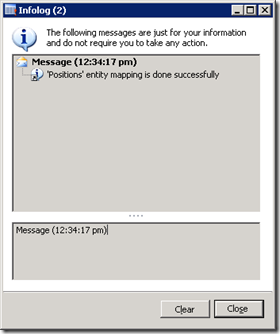
Source: AX – View Role assign to User
AX-System admin
Import data with the DIEF
This article describes how to import data with the DIEF in Dynamics AX 2012
Step1: Import the file in the staging table
Access: Data Import Export Framework > Common > Processing group
- Click “Get staging data”
- Job ID is given by the system
- Enter a description
- Click “OK”
- Click “Preview” to check if information are correct
- Click “Run”
- and “OK”
- · Data are created in the staging table
Step2: Import data to the target
- Click “Copy data to target”
- Select Job ID used above
- Click “OK”
- Click “Run”
- Click “OK”
- · Records are created
Create a processing group for positions with the DIEF
This article describes how to create a processing group to import positions with the DIEF in Dynamics AX 2012
Position
Access: Human Resources > Common > Organization > Positions > Positions
I need to import:
- Position
- Description
- Report to position
- Assignment date
Note: The “Report to position” in the DIEF is created via the Relationship. That why you need to setup to fields with value Hierarchy name+Position Id
Setup the Processing group – Option CSV file
Access: Data Import Export Framework > Common > Processing group
- Click “New” and enter a name and a description
- Click “Entities”
- Select Entity = Positions
- Format = CSV
- Select the two options
- Click “Generate source file”: the wizard form is open
- Click “Next”
- Select the fields below
- Position = Position Id
- Description = Description
- Report to position = HcmPositionHierechy_ParentPositionId and HcmPositionHiearchyType_Name
- Assignment date = HcmPositionDuration_ValidFrom
- Click “Generate sample file”
A csv file is open and contains all the fields selected above
- Click “Finish”
- Complete the file with all the positions you want to import and add the path to the processing group.
- Click “Generate source mapping”
- Click “Validate”
The processing group is now created and can be use to import data.
Remark: If the report to position refer to positions include in the same file, you will need to import twice the file:
- First round to create all positions
- Second round to assign the report to position
Dynamics Excel Add-In
This article presents an example of the Excel Add In utility in Dynamics AX 2012
Step 1: Identify the table in Dynamics AX
- Open the table you want to use in Excel Add In
- Right click > Personalize
- Note the table name
Step 2: Import the table in Excel
- Open Excel and go to the Dynamics AX tab
- Click “Connexion”
- Select the company
- Click “Add data”
- Select “Add table”
- Retreive the table and add it to the Selected table area
- Select option “Create worksheets”
- Click “OK”
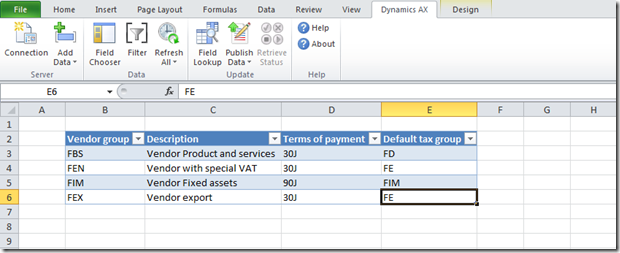
- Table is open in Excel:
- Key fields are automatically selected
- Add column:
- Double click to add a column
Step 3: Refresh the data of the table
- Close the “Field Chooser” bar
- Click inside the table
- Click “Refresh All” > “Refresh Current”
- All the data from Dynamics AX are loaded in the Excel file
Step 4: Update or create a new record
You can now update the data:
- for example the description
And load the updated data into Dynamics Ax
- Click “Publish” > “Publish selected” to publish only the current worksheet
- Once the data are published, a new sheet is created with the details of the import status
- Check in Dynamics AX: the table has been updated
Or you can add a new record:
- Create a new line in the excel table
- Populate all the fields
-
Click “Publish all”
Remark: If there is an error (a code does not exist for example), the error will be describe in the status report and the record is not imported.
- Check in Dynamics AX: new record has been created
Setup Document management
This article describes how to setup document type in Dynamics AX 2012 and how to transfer data stored in Dynamics AX tables into documents of different types like Word, Excel… You can use document type if you have to export data from an invoice, journal or other form into a document with standard text. To illustrate the setup, I will create a word document, linked to the free text invoice.
1/ Prerequisites
User setup
Access: Files > Tools > Options > General tab
- Go to the user option to allow the use of document handling: select “Document handling active”
- Select “Show attachment status” to highlight the “Attachment button when a document is attached to the record (invoice, journal, …)
General setup
Access: Organization administration > Setup > Document management > Document managment parameters
- In tab General: in the Archive directory field, enter the path to the archive directory.
- In tab Number sequences: select the number sequence code to use for naming your documents
2/ Create a new document type linked to a document template
Step 1: Create a word template
- Create a word document with the format: “Microsoft word template”
- In the place where you want variable datas, you need to insert a bookmark. The bookmarks will be linked to Dynamics AX. Example, I want to display the invoice number, or the invoice date, …
Step 2: Create a new document type
Access: Organization administration > Setup > Document management > Document types
- Create a new type and name it.
- Choose the class. In this example, I choose : “Microsoft Word document”.
- Set up the “Archive directory” (this is where the created documents are stored).
- In the remove field, you can choose between two options : remove document only or remove document and physical file.
- Click on “Option”
- On the Overview tab, in the column “Table”, select the table which the needed data primarily depend with the document template. In my example, I choose the table from the customer free text invoice.
- In the field “Template file”, select the word document template to use.
- Go to the “Field” tab
- In this form, select all the data you want to display in the word document.
- To create a new line : Ctrl + N
- To delete a line : Alt + F9
- For each line, enter in the column “Bookmark” the same name that you put in the template (word document).
- You need to have exactly the same number of bookmarks in the word document and in the dynamics AX setup.
- Remark : if you want to use a specific value several times, you have to create a new bookmark in Dynamics AX and in Word, because you can only use a Dynamics AX bookmark with one Word bookmark.
3/ Use a document type
Access: File > Command > Document handling
- Go to the the form which uses the primary table of the document type that you just created. In my example : All free text invoices form
- Select a line
- Click on the “Attachment” button or go to Files > Command > Document handling
- Click on “New” and select the document type.
- Dynamics AX creates a new document : one new line in the document handling form and a word document.
- You can add description in the document handling form if needed.
- When you go to the word document, you can see the datas from the free text invoice.
Remark : If you don’t know the name of the table. Go to the form (example free text invoice form). Select a record, make a right click and select “Personalize”. In this screen, you can find the name of the table.
AX – Create an auto-report
Auto-reports are preconfigured reports that you can generate in Microsoft Dynamics AX 2012. You can create and save a custom auto-report that can be reused later.
For example, I want to print all the closed transactions with the settlement reference for the main account 471000.
Access to the form: General Ledger > Common > Main account > select the main account and click “Posted”
Create an Auto-report
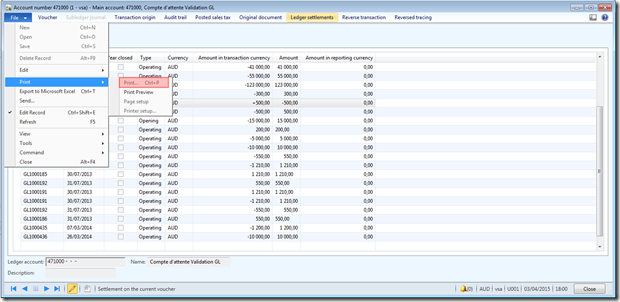
Access: from a Microsoft Dynamics form, click File > Print > Print
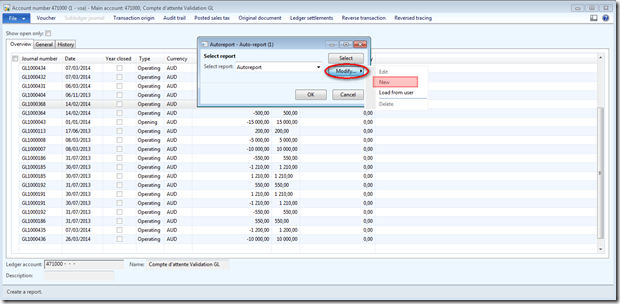
Click Modify > New
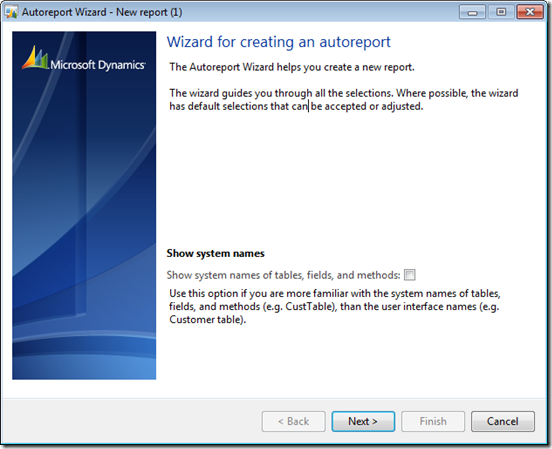
The Auto-report wizard is open
-
Click “Next”
-
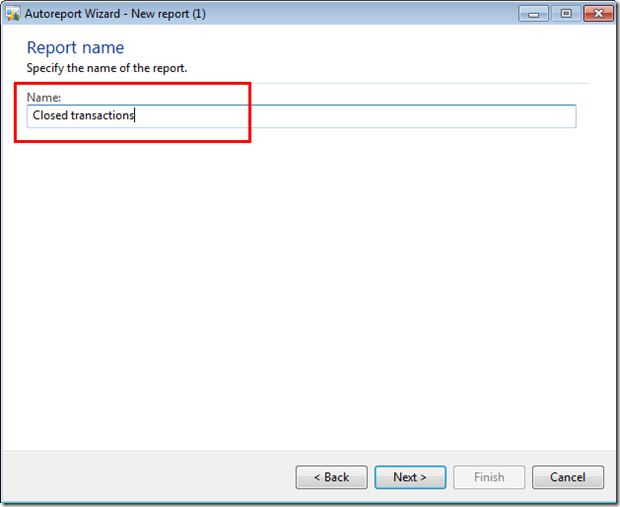
Enter a name for the report
-
Click “Next”
-
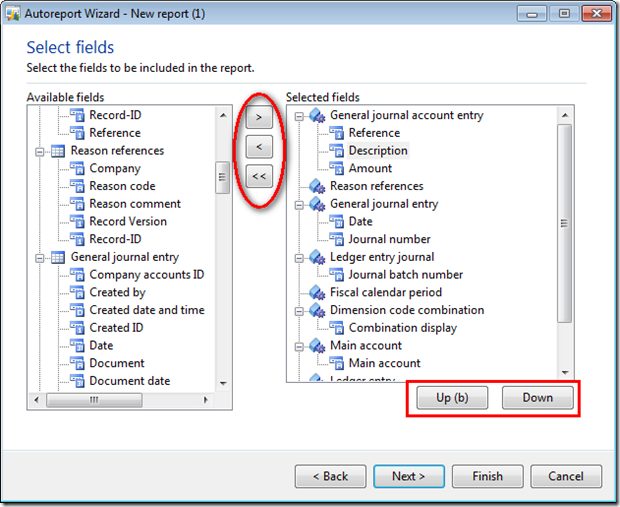
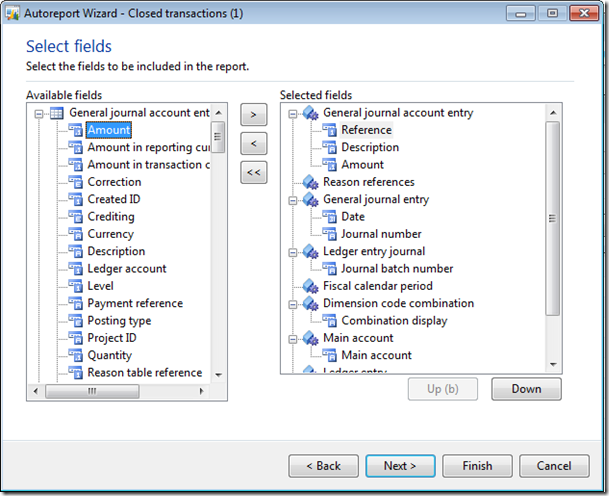
Select the fields you want to display
-
And unselect the field you do not need
-
You can order the column (within the section) with the buttons Up and Down
- Click “Next”
-
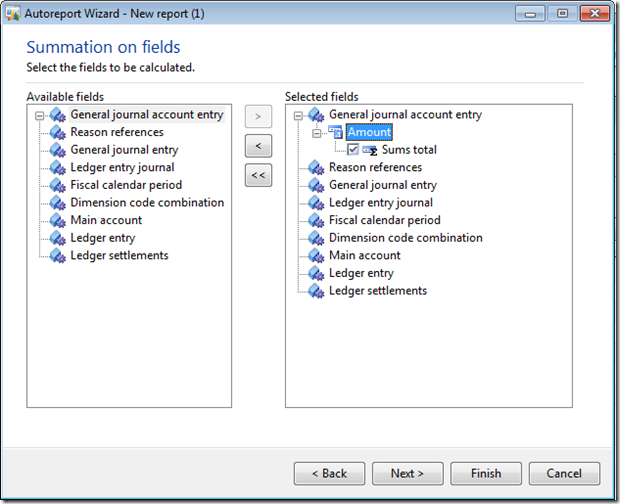
If required, select the fields to be calculated
-
Click “Next”
-
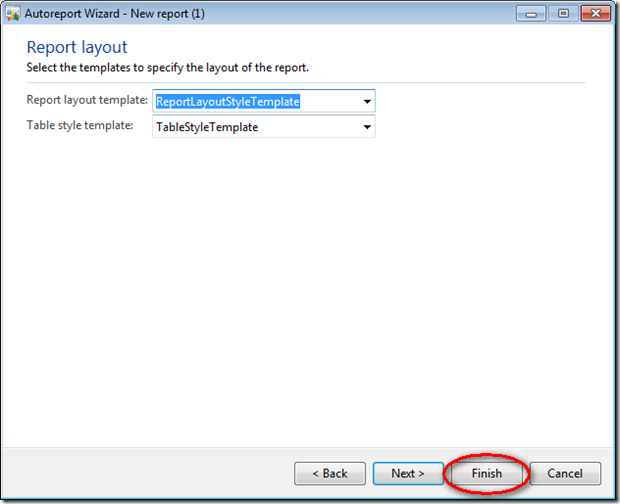
Select the layout
-
And click “Finish”
-
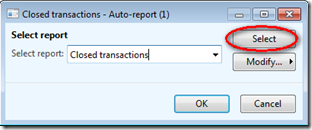
The report is created
-
Click “Select”
-
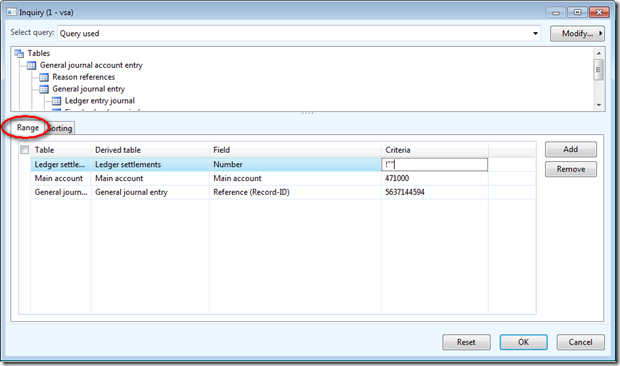
Add select criteria for your report
-
In my example, I need to select the main account and the settlement number.
-
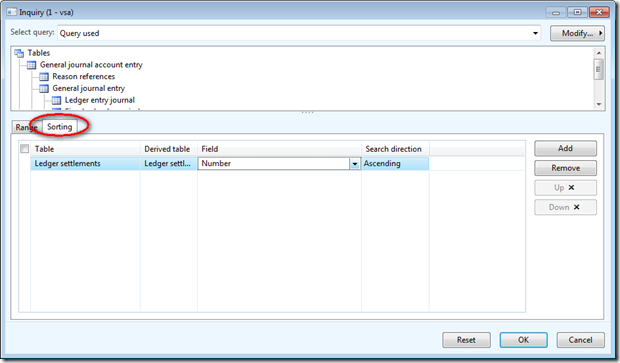
Go to the Sorting tab to order the lines in the report
-
And click “OK”
-
Click “OK”
-
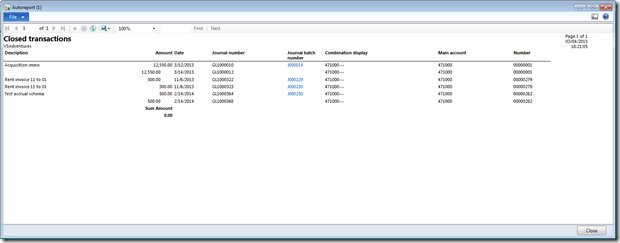
Report is generated
Re-use an auto-report
Access: from a Microsoft Dynamics form, click File > Print > Print
-
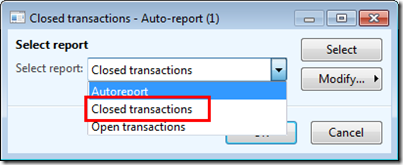
Select the report created previously
-
Click “Select” if you want to update:add selection criteria
-
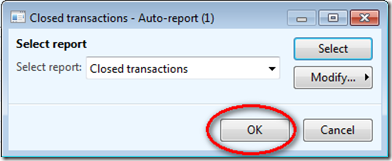
Click “OK”
Update an auto-report
Access: from a Microsoft Dynamics form, click File > Print > Print
-
Select the report created previously
-
Click Modify > Edit
-
The Auto-report wizard is open, you can update the setup.


